Tuesday, June 17, 2014

Embellishment Storage

I am still in storage mode.  I am hoping to move my craftroom from upstairs to downstairs and take over the guest room.  With that in mind, I currently use 5 clip it ups.  Two official clip it ups and the other 3 are the Hobby Lobby brand and only have one level.  They really take up a lot of space and want to minimize some of the space but still have easy access to the embellishments.  I saw a wooden drawer unit that gave me inspiration to create this unit.  Although it is made of paper it is really sturdy.  It is made from matboard that I purchased in a pack of 25.  They were 12x12 inches and I got them at Hobby Lobby for $3.60 with a coupon. It only took two pack to make this unit only because I doubled up the pieces everywhere.   I did use a regular piece of chipboard for the fronts that I ended up painting. 

Below is a side view of the drawers.  There are 7 large drawers and 2 half drawers.   I figured I will use the half drawers for small things like the rings to go on charms and such. 

 
I divided out the drawers.  I did leave two of the drawers undivided until I determine how small they need to be divided.
 
The unit is 12x12x12 inches.  That made for less cutting initially. :)   Of course I covered it in zebra print.  I am still contemplating putting legs on it so it does not rest on the table.  I did add extra layers of chipboard on the bottom.
 
The box is a basic construction box with out a front.  I then doubled up strips of chipboard in order to  have a ledge for the drawer shelves to sit on  I glued these two pieces together.  And put  one pair on each side to create a ledge for the shelf to sit on.
 
 The above photo shows a piece of chipboard sitting on the ledge created by gluing the two pieces together.  Once that was done I added an extra layer of support by putting a construction strip on top of it.  This helped to secure the shelf because I continued to build layers.  When I added the next set of chipboard strips it held the construction strip in place.  Please note that I doubled up on the chipboard for the ledge pieces.  Trying to give it as much extra strength as I could.

 For some reason the pictures are coming our really yellow.  I hope you can see the construction strip on top of the chipboard.   I then added more chipboard strips,  This provided more stability.
This is what the inside of the unit looked like when I was finished.  I did wrap construction strips around the edge to ensure they stayed together.
 

The doubling up on the chipboard allowed for extra stability for the  shelves which will hold the drawers.    The drawers were made a little smaller than 12x12 so they would fit in.  I believe I cut them about 11 5/8 x 11 3/8.  The width was a little narrower because of the doubled chipboard pieces used as support for the ledges. 
I used strips of chipboard pieces to divide the drawers out.  I simply glued them on three sides  with Scotch quick dry glue.  And on some of them I used extra construction strips for added stability.  Especially where the drawer was divided out in larger units.  The smaller units had a lot of glue on them and they are really sturdy.
Here are some more views
 
The drawers are not closed fully as I painted the fronts.
 
A top view
 
A view of the smaller drawers.
 
 
If anyone decides to take on this project and runs into any problems, please feel free to contact me.  Thanks for looking.
 
MATERIALS USED:
Matboards,
Black paper for construction strips
Scotch Quick Dry glue
Scrappy Tape/Scor Tape/Miracle Tape
Black Paint
Decorative Zebra Print Paper


GLUE STATION

I am still in storage or display mode.  I was at a crop a few weekends ago and one of the other crafters had this cool glue station. 

So of course I had to try my hand at making one for my craft table.  I kept it simple, because the sample was simple but oh so useful.  The box is 8x3x4.  It is basically just a box with the front lower than the back so the glue stays closer to the tip and a couple of grooves so the glue has a place to rest without rolling off.


I love how it came out.  I used the scotch glues for display purpose.  I will have three different liquid adhesives on the stand. and I like that when transporting the adhesives store in the box.  Thanks for looking.
 

Friday, May 23, 2014

Adhesive Station

I am so bad at keeping up with my blog, but I had someone on a facebook page ask about a project I did to store my adhesive while scrapbooking.  This was a huge experiment for me, but I love how it came out.  My first thougtht was that I had these three varying size containers that I stored my extra adhesive in.  I wanted to be able to sit my adhesive station on top of it at crops. 

 
This is the plastic container that I was basing my project on.  The lid is recessed, so I made the base of my stand to sit on of it.  I cut a piece of foam core board the size of the largest container as shown in the picture and then cut out the shape.  I then added another foam core board on top to create a flat surface for the adhesive station.
 
Here is a side view of the station.  The black boxes were made using basic construction. You can look at my tissue box for basic construction guide.  Keep in mind, I created this as I went.  There was no original rhyme or reason.  I knew what adhesive guns I wanted to put on it.  The tall box, of course holds glue sticks and the other two hold the refills for the other guns.  I made lids for the purpose of transport.  I also have a piece of nonmelt rubber that sits between the hot glue gun and the glue sticks.

Here is a picture of the boxes open.  The boxes hold enough spare adhesive for a weekend crop and beyond.

On this side view, you get a sense of how the guns are mounted.  I created an "H" with depth.  I had a friend use this as inspiration and she went and purchased paper mache boxes for the refills and the letter H in paper mache. 

Her is the support for the adhesives.  Once the H's were completed, I did not want the gun sliding around, So I added a resting spot.  The ATG gun has a piece of toilet tissue roll, and the other two just have some small boxes created to rest in.  The toilet tissue holder was still wrapped in chipboard for strenghth..  Please note that chipboard only forms a circle in one direction, so check the rolling ability before cutting.

I then added some more tissue holders for my Scotch quick dry and other bottle adhesive.  On these I only added chipboard to the top and bottom of the roll to add strength.

More views.


If you decide to tackle something like this, and run into any problems, please feel free to contact me, I will help in any way I can. (other than making it for you :) )
Material Used:
Foam Core Board - Base
Chipboard - Boxes, Lids, "H" stands
Tissue Rolls: round storage, and docking for gun.
Score Tape/Scrappy Tape, Scotch Quick Dry
Black paint,
Paper to Decorate:  I have since changed the paper to Zebra print

Friday, April 25, 2014

Basketball and Cheerleading Seniors

My children go to a fairly small school.  For those into sports, they are a 3A school.  I started taking quite a few pictures near the end of the basketball season with the hope of doing something special for the seniors.   The bad thing was I did not start working on the project until about a week before the basketball banquet. I had not printed any pictures nor had I sorted any of the pictures.  Well... crazy me, decided to jump in and see what I could get accomplished.  Because I know most of the seniors and a majority of them live in the same community that I lived in, I knew that if I did not get time to finish the project before the banquet, I woul be ok, because I could give it to them later.  Luckily, I was able to complete all of the books and even got a 12x12 album completed for the coach. 
 
For ease of assembly, I decided to use one of the projects from Kathy Orta's book, Interactive Scrapbooks.  I picked the flipped out project, mostly because I had already cut out many of the chipboard pieces needed to complete the projects.  We had 6 Varsity Boy players, 4 Varsity Girl players, and 2 Varsity Cheerleader.  I only had to do 11 books because one of the cheerleaders also played basketball.   I also did another book, based on Kathy's book, but done
in my own way, for a young man that headed the student cheer section.

Here is a picture of the 11 player books.
 
Here is the book for the Student Section Leader:
Here is a basic overview of the books for the young ladies.  I added a bit of glitter to theirs,  more on some than the others.  I tried to make each one a little unique. I purchased the paw print paper from Hobby Lobby, and I printed our school paper on  my wide format printer.  :


Here is a picture of one of my sons' book.  I tried not to make the young men's books too girly.  Inide is a cascade of photos.  So some got as many as 15 pictures in their books.  Most of the photos were of the individual player, but I also included some team photos from over the years.  Some of these guys have been playing basketball together since the 3rd grade.
 

I also made a book for the coach.  I made it a traditional 12x12 book. I forgot to take pictures of the pages before I put it them in the book, so I just snapped a few pictures of it at the event. here are first and last pages in the Coach's book.  Sorry for the glare:


Thursday, April 3, 2014

Desktop Storage

While in the process of clearing my table off I decided to create some type of table top storage.  This is what I came up with:
The storage unit is made up of individual boxes thar were then attached to each other.  I did stagger some so i could see what type of punch they were.  On those I sraggered I did attach a piece of chipboard on the back and sides to help it stand up and to add additional support.  I also wanted my Martha Stewart score board to be readily available.  I just added a bigger box to the back.
Here is how I created the boxes.
First I decided to figure out how big the box needed to be by measuring the tool.  I measured the width, the height, and the depth.  The height is based on how high up the tool you want the box to go .


I then cut my chipboard accordingly. In the case of this tool I cut my chipboard the following  size:
5"x5" - cut two for front and back.
1 1/2" x 5" - cut two for sides
1 1/2"x5" - cut one for bottom
I listed the bottom separately because it   is not always the same size as the sides.  I lined the pieces up  in the following orser.
I then used construction strips to attach them.   The strips are 1" wide and scored down the middle.  Then add score tape to each half but  do not cover score line.
See picture below with sides and bottom attached.
Then connect to form a box then attach bottom.


Please look at the tutorial for the tissue box to get some pointers on using construction strips to construct boxes.  
After box is constructed make sure the tool fits in the box before attaching it to other boxes.  

I made sure my tool fit in the box both ways.
I then added adhesive to the side I was connecting.
I then added it.

I then added paper and ta da...I am done.


Saturday, March 29, 2014

Storage

I have really been in the storage mode lately.  I thought I would share some of  my recent projects.  Please note, I have not really gotten into tutorials, as you can tell from my previous post.  The base of the idea for the following items was from a lady on YouTube named Ozegran.  If you search for her on YouTube you will find some of her tutorials.  I used her basic measurements for the stickles storage and then changed the measurement to make storage for my paint daubers, distress stains and alcohol inks.

The above stickles storage holds 96 stickles and it is full. I have since replaced the turntable with one that does not take up as much space.  I was motivated to do these storage items because of the concept of out of sight out of mind.  If I don't see the items, I don't think to use them.
 
Here are my other spinners, just resized to fit other embellishments.
 

I then went to a crop and using the same basic concept, I helped create marker storage for someone else. 
I gave it to them to decorate.  The box on the side will be used for incidentals, and I also made a taller box to go behind it to hold her rulers.  Like how it came out.  Thanks for looking.


Tissue Box and Baby wipe storage.

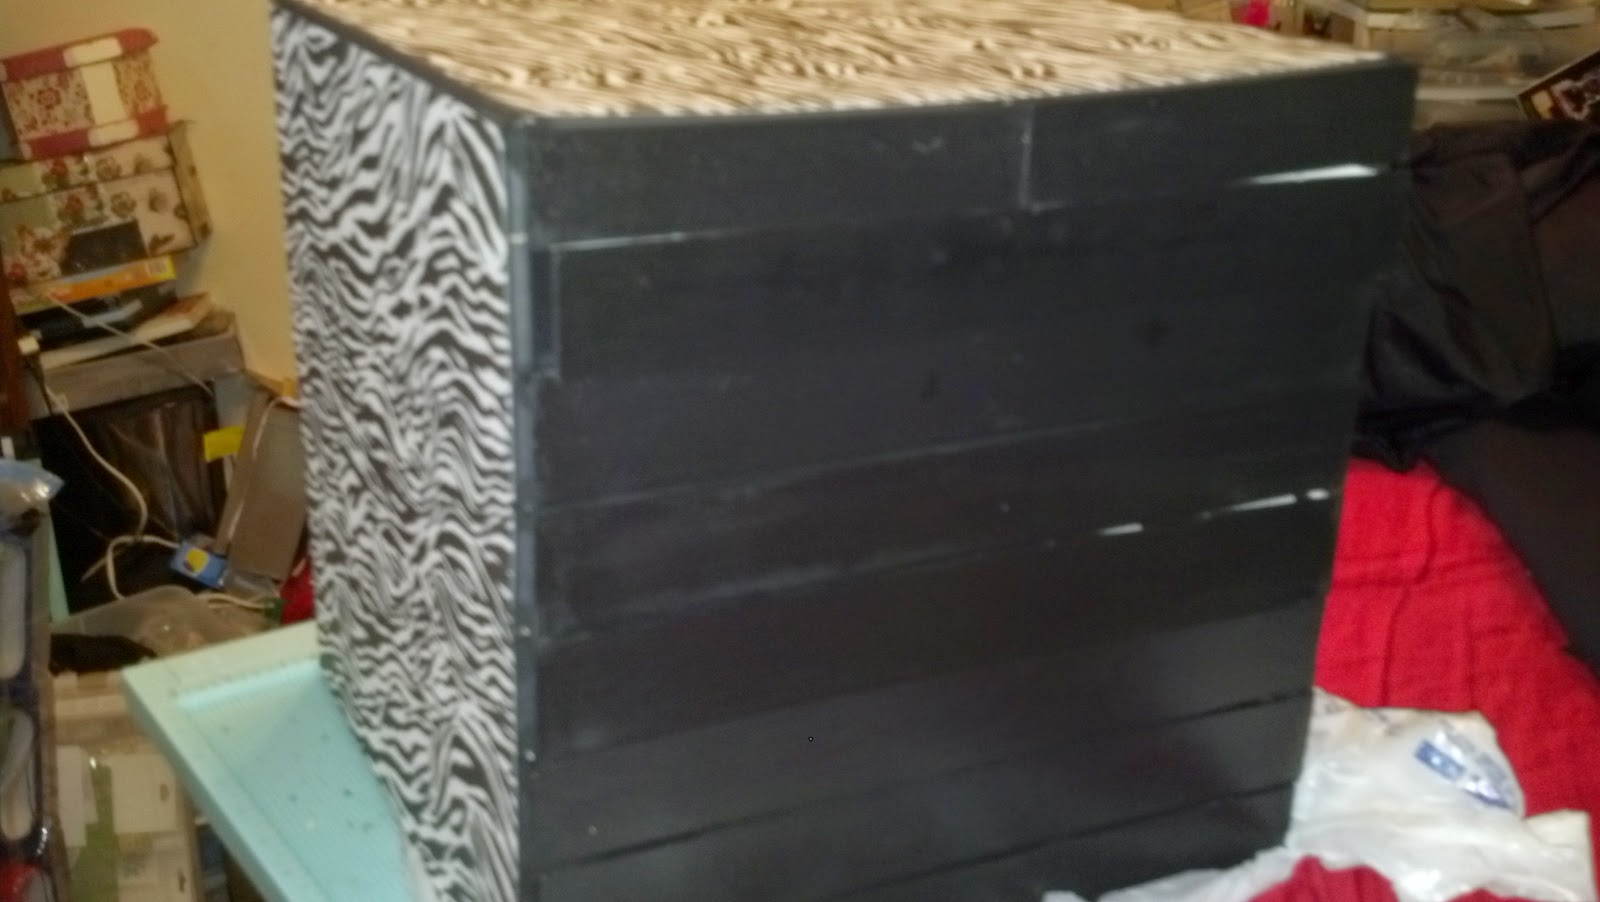
I was sitting at my desk one day and had a tissue box sitting there and decided to see if I could make some type of storage for the tissue box.  This is what I came up with.
When I created it, my initial intention was to  use the drawer to hold a mini album.  Then I decided I would either use it for my baby wipes or for those little things that end up on my desk that just get in the way.  After posting pictures on Facebook, I had quite a few people ask for a tutorial. I have made another one and will do a basic tutorial for this project.  You may need some basic understanding of on chipboard construction.
Materials:  Medium weight chipboard 5 or 6 sheets, adhesive, I used both the Scotch quick dry and double sided tape (Score tape/Scrappy Tape/Miracle tape) and paper to decorate if desired
 
Cutting;
Chipboard
:
Front/back  - 9 1/2" x 6" cut 2
Sides - 5 1/2" x 6" cut 2
Top/Bottom - 10 3/8" x 6 3/8" cut 3
Base - 9 1/2" x 5 1/2" cut 1
Drawer front - 8 3/4"x 3 1/4"  cut 1
Drawer sides - 5 3/8" x 2 5/8" cut 2
Drawer sides - 8 1/4" x 2 5/8" cut 2
Bottom Drawer - 5 3/8" x 8 1/4" cut 1
Ledge - 3" x 5 1/2" cut 2
Shelf for tissue box - 5 1/2" x 9 3/8" cut 1
Lid lip - 9 1/4" x 1/2" cut 2
Lid lip - 5 1/4" x 1/2" cut 2
Frame - 4" x 4"
 
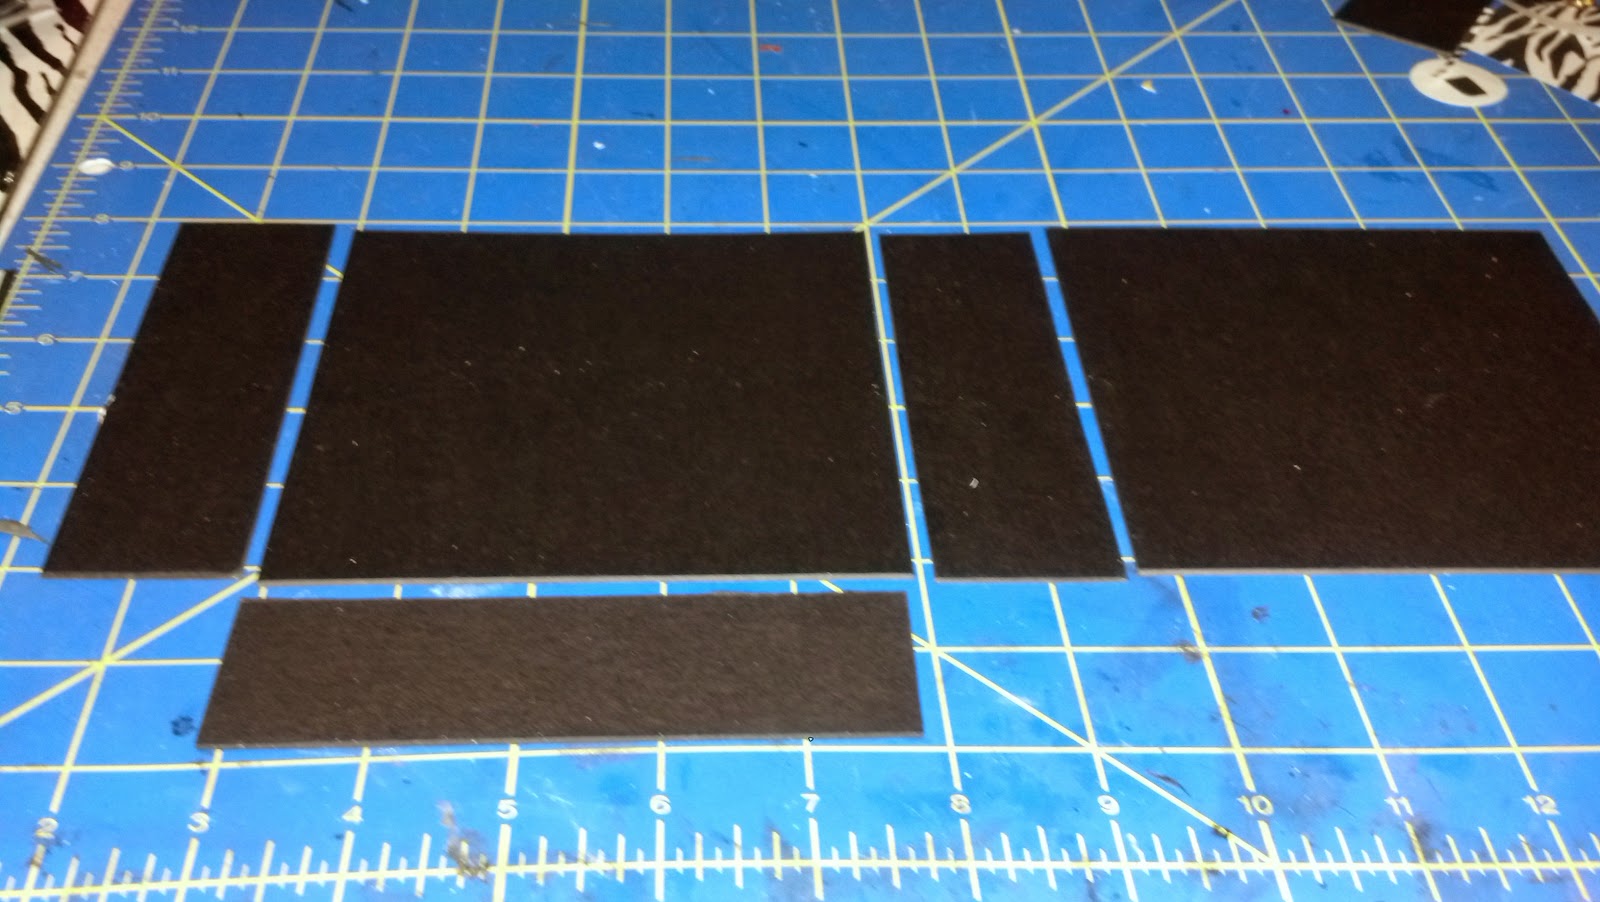
Cardstock Construction Strips
2 sheets 12 x 12 cut into 1"x12" strips, scored at 1/2" and adhesive applied.
 
Construction strips are used to put the project together.  I find it is easier to use a double sided adhesive and not a wet glue.  You can use a wet glue, just ensure it is fairly quick drying.   Still cut construction strips but add your wet adhesive as you use the strips.  I have never done it that way, it just seams like it would be a little messy.
 
Here is a construction strip, before I have added the adhesive.  Below is an after shot.
Here are my construction strips after adding adhesive.  Ensure you do not cover the score line.
 
I begin construction of the box by first cutting the opening in the front for the drawer.  My drawer opening is 8"x 3". If centered correctly you will end up with 1/2" from each edge.
Now I am ready to assemble.   I first need to add a ledge for the tissue box shelf to sit on for security.  I attach the 3 x 5 1/2  ledges to each of the sides.  I used wet glue for this.
 
I then began constructing the box. I used the construction strips to attach the front and the back to the sides.  I cut 4 strips to the height of my box.  I attach the strip from the back of the chipboard piece and set the next piece vertical to the front/back to ensure proper spacing. Once the piece is set in vertically, bring the construction strip to it.  It is ok if it fall down once attached.  It will all come back together when all sides are attached.
Do this same thing to the sides/back and front.  Pieces should be attached in the following order:  front - side - back - side
Before finishing the square, add some wet glue to the grooves in the construction strips.  Then add the front to the final side to close up box.
 
Then complete the square. Sorry did not get a picture of completed square. Please understand that by connecting the front/back and sides you complete a square.  You will then attach construction strips to the base.  I sometimes cut construction strips ends cut at 45 degree angle.  It just reduces some of the bulk.
Here is a picture of the base with construction strips added.
Please notice that construction strips are only added around 3 sides of the base.  The fourth side is where the opening of the drawer is located.  I cut a 1/2"  piece of construction  strip on the left and right side of the base where it will attached to the front of the box.
Once you complete the base of the box, take time now to burnish all the construction strips with a bone folder.  This will ensure proper adhesion.
It is now time to assemble the drawer. It is done the same as the main box.  Here is a picture of the completed square of the drawer.  Notice wet glue was added to the seams again for added strength.
 
You will then add construction strips to the drawer bottom:
 
You simply do the same as above, set the drawer on the base of the drawer and  bring construction strips up to the sides.
 
You can then add construction strips to the tissue box shelf.
You will then add a bead of glue to the tissue box shelf ledges that are attached to the sides
Then attach shelf.
Sorry these are kind of out of order.  But will not have an impact on the final project.
Now lets work on the lid. I used two layers for the lid.  One has a 1 1/2" square hole cut out of it so that you can get the tissue out of the box.  I Cut a 2 1/2" square out of the second lid, and then glued the two lids together with the smaller hole on the bottom to give it this look:
I also added a 4 " square frame to the top of the decorated box.  The four inch square has a three inch square cut out of it to create a frame (frame is totally optional.).  You can take time now to cover the box with paper. To cut the holes in the lids, just find the centers and cut the different size holes. You do not have to have a double layer lid, I just liked the look.
 
The holes cut  out and stacked.  You can cover both the lids and then glue them together.
This is how it looks from the inside.  Ignore the lip for now. Notice I cut an "X" in the hole and then pulled the paper to the inside/bottom of the lid.
 
Cover your drawer front.  Add adhesive to the drawer and place it in the slot for proper placement.


Then position your drawer front.  Pull drawer out and ensure properly secured.
 
We now need to work on the lip of the lid to keep the lid from slipping off.  In this case instead of using regular construction strips, I cut 3 strips of paper 1/2" to connect the lid lip pieces to each other and then used construction strips to attach the lip to the lid.

I still attached to chipboard pieces to each other the same way, using the 1/2 inch strips as the connection base.
Then add the construction strips to the lip after you have formed the square, just like above.
 
Now you can attach it to the lid, ensure it is center.
Then cover the inside with paper if desired.
 
 
To finish add a knob or some type of drawer pull. 
I have not completed the frame on this project yet.  But that is the completed box.  If you don't understand any of the instructions please leave me a message.