I am still in storage mode. I am hoping to move my craftroom from upstairs to downstairs and take over the guest room. With that in mind, I currently use 5 clip it ups. Two official clip it ups and the other 3 are the Hobby Lobby brand and only have one level. They really take up a lot of space and want to minimize some of the space but still have easy access to the embellishments. I saw a wooden drawer unit that gave me inspiration to create this unit. Although it is made of paper it is really sturdy. It is made from matboard that I purchased in a pack of 25. They were 12x12 inches and I got them at Hobby Lobby for $3.60 with a coupon. It only took two pack to make this unit only because I doubled up the pieces everywhere. I did use a regular piece of chipboard for the fronts that I ended up painting.
Below is a side view of the drawers. There are 7 large drawers and 2 half drawers. I figured I will use the half drawers for small things like the rings to go on charms and such.
I divided out the drawers. I did leave two of the drawers undivided until I determine how small they need to be divided.
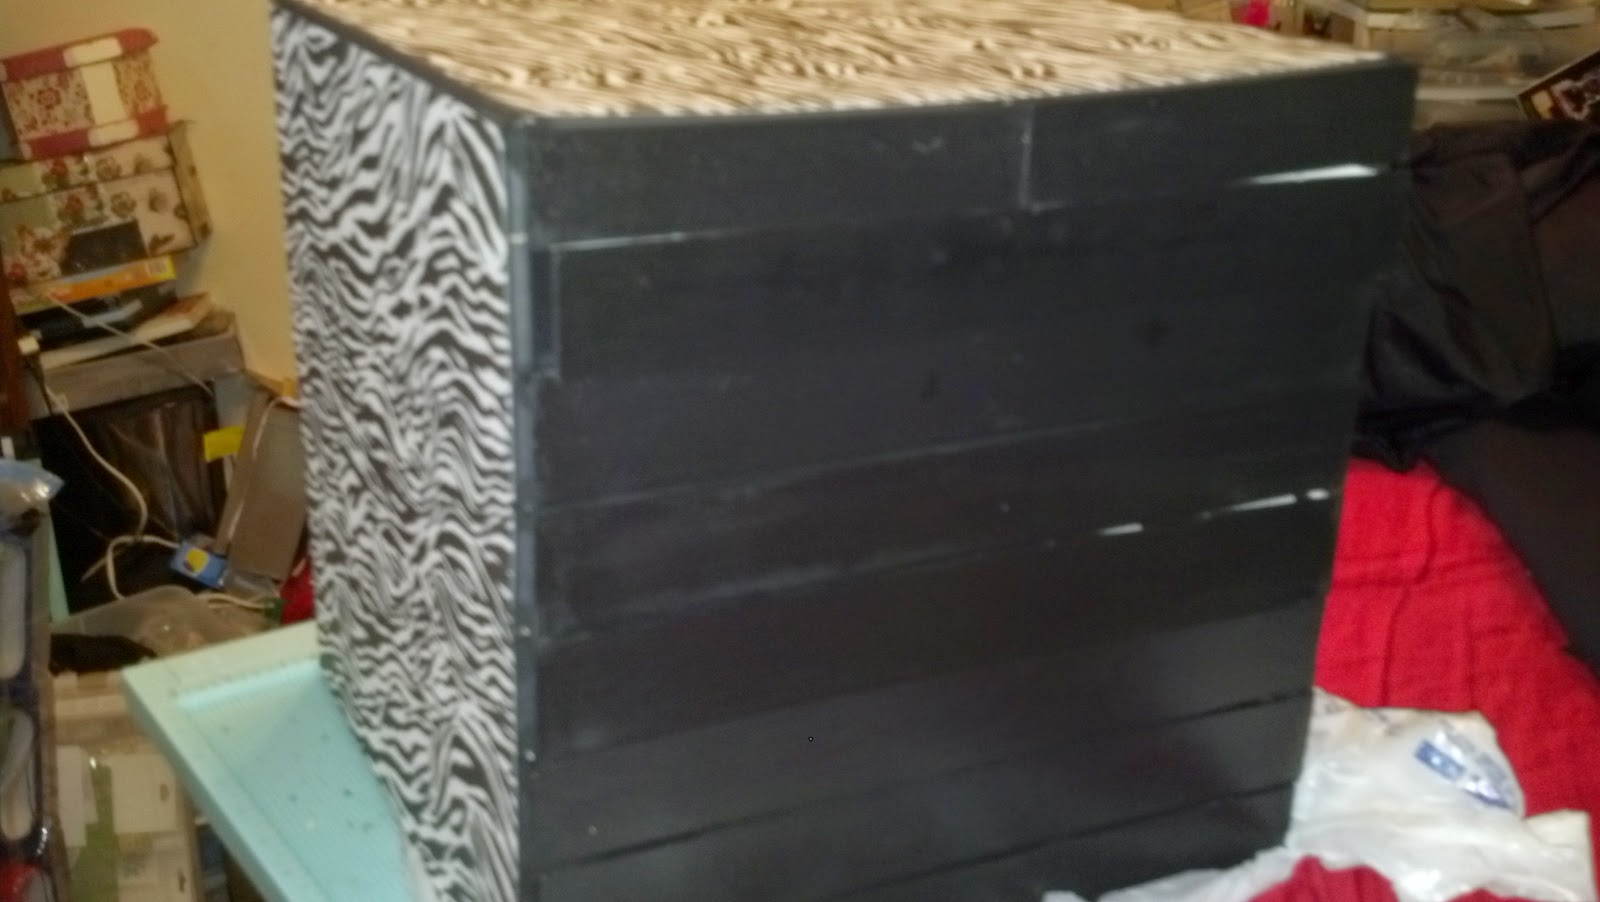
The unit is 12x12x12 inches. That made for less cutting initially. :) Of course I covered it in zebra print. I am still contemplating putting legs on it so it does not rest on the table. I did add extra layers of chipboard on the bottom.
The box is a basic construction box with out a front. I then doubled up strips of chipboard in order to have a ledge for the drawer shelves to sit on I glued these two pieces together. And put one pair on each side to create a ledge for the shelf to sit on.
The above photo shows a piece of chipboard sitting on the ledge created by gluing the two pieces together. Once that was done I added an extra layer of support by putting a construction strip on top of it. This helped to secure the shelf because I continued to build layers. When I added the next set of chipboard strips it held the construction strip in place. Please note that I doubled up on the chipboard for the ledge pieces. Trying to give it as much extra strength as I could.
For some reason the pictures are coming our really yellow. I hope you can see the construction strip on top of the chipboard. I then added more chipboard strips, This provided more stability.
This is what the inside of the unit looked like when I was finished. I did wrap construction strips around the edge to ensure they stayed together.
The doubling up on the chipboard allowed for extra stability for the shelves which will hold the drawers. The drawers were made a little smaller than 12x12 so they would fit in. I believe I cut them about 11 5/8 x 11 3/8. The width was a little narrower because of the doubled chipboard pieces used as support for the ledges.
I used strips of chipboard pieces to divide the drawers out. I simply glued them on three sides with Scotch quick dry glue. And on some of them I used extra construction strips for added stability. Especially where the drawer was divided out in larger units. The smaller units had a lot of glue on them and they are really sturdy.
Here are some more views
The drawers are not closed fully as I painted the fronts.
A top view
A view of the smaller drawers.
If anyone decides to take on this project and runs into any problems, please feel free to contact me. Thanks for looking.
MATERIALS USED:
Matboards,
Black paper for construction strips
Scotch Quick Dry glue
Scrappy Tape/Scor Tape/Miracle Tape
Black Paint
Decorative Zebra Print Paper


No comments:
Post a Comment