I was sitting at my desk one day and had a tissue box sitting there and decided to see if I could make some type of storage for the tissue box. This is what I came up with.
When I created it, my initial intention was to use the drawer to hold a mini album. Then I decided I would either use it for my baby wipes or for those little things that end up on my desk that just get in the way. After posting pictures on Facebook, I had quite a few people ask for a tutorial. I have made another one and will do a basic tutorial for this project. You may need some basic understanding of on chipboard construction.
Materials: Medium weight chipboard 5 or 6 sheets, adhesive, I used both the Scotch quick dry and double sided tape (Score tape/Scrappy Tape/Miracle tape) and paper to decorate if desired
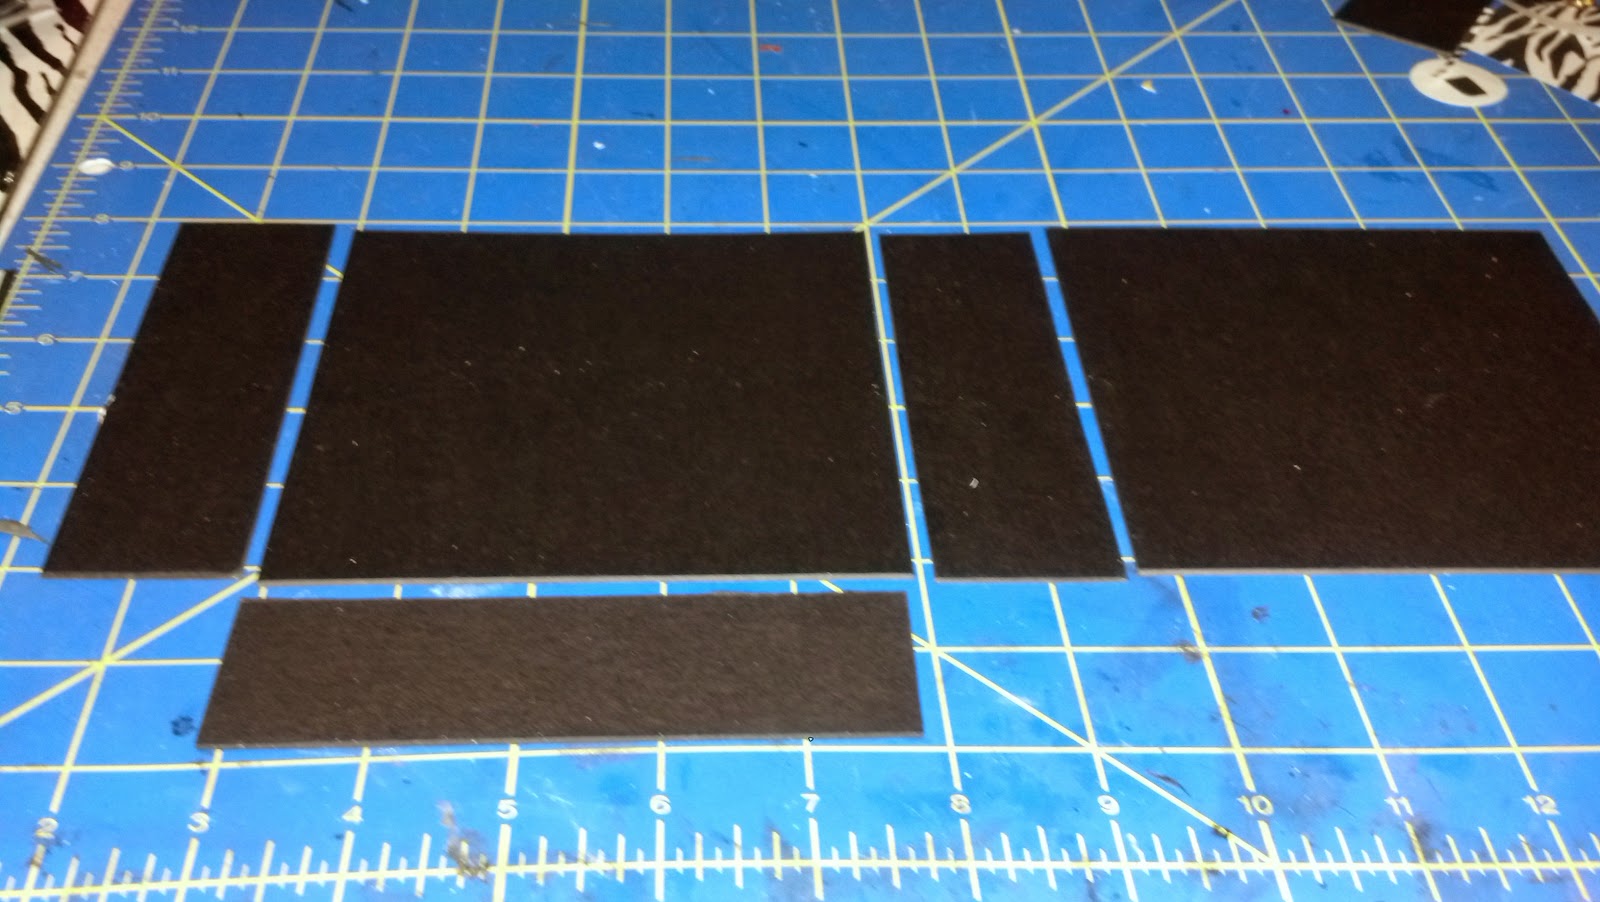
Cutting;
Chipboard
:
Front/back - 9 1/2" x 6" cut 2
Sides - 5 1/2" x 6" cut 2
Top/Bottom - 10 3/8" x 6 3/8" cut 3
Base - 9 1/2" x 5 1/2" cut 1
Drawer front - 8 3/4"x 3 1/4" cut 1
Drawer sides - 5 3/8" x 2 5/8" cut 2
Drawer sides - 8 1/4" x 2 5/8" cut 2
Bottom Drawer - 5 3/8" x 8 1/4" cut 1
Ledge - 3" x 5 1/2" cut 2
Shelf for tissue box - 5 1/2" x 9 3/8" cut 1
Lid lip - 9 1/4" x 1/2" cut 2
Lid lip - 5 1/4" x 1/2" cut 2
Frame - 4" x 4"
Cardstock Construction Strips
2 sheets 12 x 12 cut into 1"x12" strips, scored at 1/2" and adhesive applied.
Construction strips are used to put the project together. I find it is easier to use a double sided adhesive and not a wet glue. You can use a wet glue, just ensure it is fairly quick drying. Still cut construction strips but add your wet adhesive as you use the strips. I have never done it that way, it just seams like it would be a little messy.
Here is a construction strip, before I have added the adhesive. Below is an after shot.
Here are my construction strips after adding adhesive. Ensure you do not cover the score line.
I begin construction of the box by first cutting the opening in the front for the drawer. My drawer opening is 8"x 3". If centered correctly you will end up with 1/2" from each edge.
Now I am ready to assemble. I first need to add a ledge for the tissue box shelf to sit on for security. I attach the 3 x 5 1/2 ledges to each of the sides. I used wet glue for this.
I then began constructing the box. I used the construction strips to attach the front and the back to the sides. I cut 4 strips to the height of my box. I attach the strip from the back of the chipboard piece and set the next piece vertical to the front/back to ensure proper spacing. Once the piece is set in vertically, bring the construction strip to it. It is ok if it fall down once attached. It will all come back together when all sides are attached.
Do this same thing to the sides/back and front. Pieces should be attached in the following order: front - side - back - side
Before finishing the square, add some wet glue to the grooves in the construction strips. Then add the front to the final side to close up box.
Then complete the square. Sorry did not get a picture of completed square. Please understand that by connecting the front/back and sides you complete a square. You will then attach construction strips to the base. I sometimes cut construction strips ends cut at 45 degree angle. It just reduces some of the bulk.
Here is a picture of the base with construction strips added.
Please notice that construction strips are only added around 3 sides of the base. The fourth side is where the opening of the drawer is located. I cut a 1/2" piece of construction strip on the left and right side of the base where it will attached to the front of the box.
Once you complete the base of the box, take time now to burnish all the construction strips with a bone folder. This will ensure proper adhesion.
It is now time to assemble the drawer. It is done the same as the main box. Here is a picture of the completed square of the drawer. Notice wet glue was added to the seams again for added strength.
You will then add construction strips to the drawer bottom:
You simply do the same as above, set the drawer on the base of the drawer and bring construction strips up to the sides.
You can then add construction strips to the tissue box shelf.
You will then add a bead of glue to the tissue box shelf ledges that are attached to the sides
Then attach shelf.
Sorry these are kind of out of order. But will not have an impact on the final project.
Now lets work on the lid. I used two layers for the lid. One has a 1 1/2" square hole cut out of it so that you can get the tissue out of the box. I Cut a 2 1/2" square out of the second lid, and then glued the two lids together with the smaller hole on the bottom to give it this look:
I also added a 4 " square frame to the top of the decorated box. The four inch square has a three inch square cut out of it to create a frame (frame is totally optional.). You can take time now to cover the box with paper. To cut the holes in the lids, just find the centers and cut the different size holes. You do not have to have a double layer lid, I just liked the look.
The holes cut out and stacked. You can cover both the lids and then glue them together.
This is how it looks from the inside. Ignore the lip for now. Notice I cut an "X" in the hole and then pulled the paper to the inside/bottom of the lid.
Cover your drawer front. Add adhesive to the drawer and place it in the slot for proper placement.
Then position your drawer front. Pull drawer out and ensure properly secured.
We now need to work on the lip of the lid to keep the lid from slipping off. In this case instead of using regular construction strips, I cut 3 strips of paper 1/2" to connect the lid lip pieces to each other and then used construction strips to attach the lip to the lid.
I still attached to chipboard pieces to each other the same way, using the 1/2 inch strips as the connection base.
Then add the construction strips to the lip after you have formed the square, just like above.
Now you can attach it to the lid, ensure it is center.
Then cover the inside with paper if desired.
To finish add a knob or some type of drawer pull.
I have not completed the frame on this project yet. But that is the completed box. If you don't understand any of the instructions please leave me a message.